
My apologies for the extremely late blog post, it has been a
rather difficult month on the personal side for myself and my family. I would
like to thank everyone who has been incredibly understanding and patient with
us.
From next week we hope to be completely back on track,
supplying you with a whole lot of exciting new patterns, including our high
waist, wide legged pants sewing pattern. Incredibly stylish, we just adore this
style.

Follow us on twitter and win! We love it when you share your
creations with us, especially on twitter, so join us @MySewingPattern and share
your creations made from our sewing patterns.

Every time we reach a 1,000 milestone in followers we will
be giving away a $10 coupon for our Etsy Sewing Pattern Store to one of our
lucky followers!
Pattern of the week
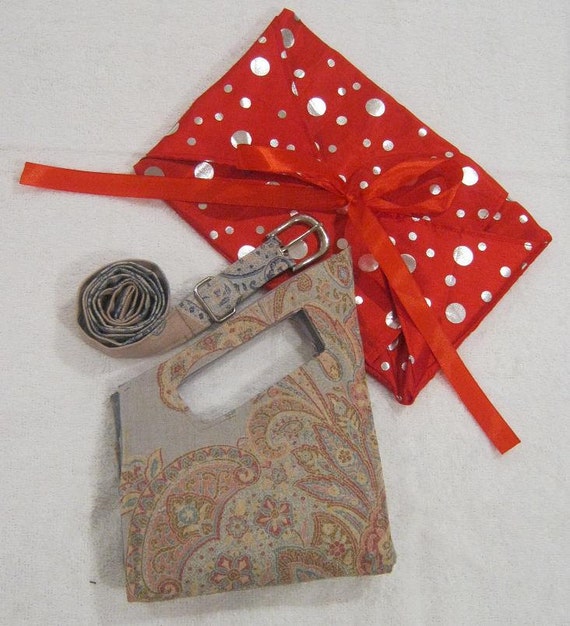
We love this gift set, made up of three sewing patterns. The patterns included in this set are the perfect holiday bag, our Fabric belt pattern and our envelope style gift bag.
Create the physical, homemade with love, gifts or print the patterns out and insert them into an A4 size gift bag to give as a gift to the sewing fan in your life!
This week’s tutorial
How to shorten a zip

Every now and then we run into the dilemma of having a zip
that is too long for the job at hand. Here’s a quick tutorial on how to shorten
a zip.
Step 1:
Take your zip and measure out the length you require. Make
sure to measure from the top of where the zipper’s teeth end, and not from the
top of the ribbon.

Add 1cm / 3/8” to the length you require (just in case) and
make a mark so that you know where to sew.

Step 2:
Set your sewing machine to the marking for the top of a
buttonhole.

Sew at the previously marked point using this function to
create the new bottom for your zipper end.

Step 3:
About 1cm / 3/8” below the newly made zipper end, trim off
the excess zip that you won’t be needing. Use stop fray or fabric glue at the
end of the zipper to prevent the ribbon from unraveling. Once this is dry,
your new shortened zipper is ready to use.

Additional note:
I thought it quite important that I mention this here. I
have seen a number of zipper shortening tutorials that advise you to shorten
the zipper at the top of the zip, rather than the bottom as I have shown you. I
completely disapprove of this method, my reason for this is quite simple.
Those two metal squares at the top of the zipper have two
functions, the first being that it prevents you from pulling your zipper off
past the teeth. It’s second function is that it “locks” your zipper into place.

Without your zipper being locked into place, there’s no
guarantee that while wearing your lovely new garment out in public, that your
zipper is going to have a mind of its own and suddenly open up.

There is one exception to this rule, and that’s if you have
a self-locking zipper, which is a zip with a little point that lodges itself into
the teeth to prevent it from coming down when you least expect it. But unless
you have one of these, you definitely need those two rectangular ends on the
top of your zipper.

No comments:
Post a Comment