I was inspired to
create a bag pattern to celebrate Mother's day 2015. Every child knows that
mommy's bag is a magical place that holds a surprising quantity of items,
something for any need that might arise. Why not make a bag for her this year,
or purchase this pattern for her to use herself?
The pattern includes
two different size bags.
Click on the link to
the right of the page to purchase the pattern.
As an additional gift I decided to do a free tutorial to create a matching cellphone pouch with the left over fabric.
Pattern Pieces
- 1 x A4 sheet of paper required to construct a pattern piece for a small to medium size phone. Tape two sheets of paper or use an A3 size sheet to construct pattern for large cellphones and small tablets.
Suggested fabrics
- Soft leatherette or PVC
- Nepal Hyde
- Heavy Woven fabrics such as cotton twill or denim
Other items required to complete garment:
- 2cm / 0.80” square of Velcro
Fabric yardage (amount of fabric required)
- 115cm / 45” width – 30cm / 10” inch length
- 150cm / 60” width – 30cm / 10” inch length
Skills required
- Basic knowledge on how to you use a sewing machine
Pattern creation instructions
Use a measuring tape to measure right around your cellphone.
This is to ensure that you include the thickness of your phone in the width
measurement.
On your piece of paper, mark the centre point of the page. Then
mark the measured width of your phone on the piece of paper, making sure you
place the halfway mark of the measurement in the same place as the centre dot
on your piece of paper. On either end of this line, extend the line by 2cm or 8/10”
Measure length of your phone, then draw a line vertical to
the first in the same manner, and extend it by the same length on either side.
Use these lines and measurements to draw a closed square /
rectangle on your page.
On the centre of one of your longest sides draw a line up approximately
5 cm / 2” and use this as the point to draw in the triangle for your envelope
style flap. At the opposite end of this, measure a 10cm / 4” gap and make
circle markings.
Cut out your newly made pattern, and use this to cut out two
pieces of fabric, transfer the marking you made.
Sewing Instructions
At all of the corners of your fabric, mark the points where
your 1.5cm / 5/8” seams will meet.
Place the fabric pieces right sides, then from the first
marking at the bottom of the pattern, sew around your fabric pieces, ending at
the second circle. This will leave a gap at the bottom of your fabric where you
can turn your pouch the right way around.
Clip / trim all your corners and points.
Turn your phone pouch the right way around and push out all
of your corners. Pin into place.
Sew the bottom edge closed.
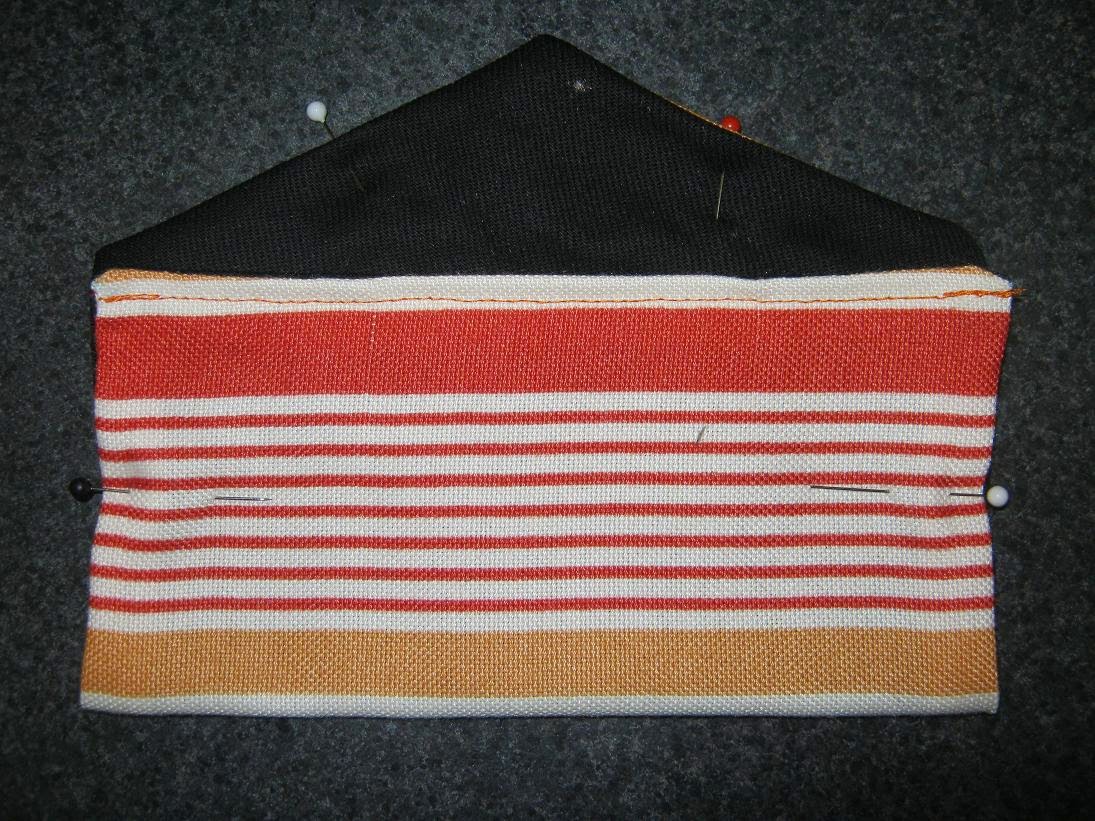
Fold pouch in half and pin into position.
Starting at the bottom of one corner, sew up and around your
cellphone pouch to finish it off.
Then, using fabric glue, glue your Velcro squares into
place, wait ti dry before use.
Your cellphone pouch
is now ready to use! Enjoy and happy sewing.
Feel free to like my
Facebook page for updates on new pattern releases, as well as free patterns and
tutorial.


.JPG)


